
 The Photoxor Toolkit June 2019 edition will extend the presets onto the EV screen, a good opportunity to present a few tips and tricks around this feature.
Now we explore the power behind these three little round blue and orange buttons found on a number of calculation screens.
The exposure presets can be found on these screens:
- Flash Manual
- Exposure (new)
- Filter
and they use the same preset values for all of them.
Let's use the Filter screen for this walk-through.
Save a setting
Open Photoxor Toolkit and go to the Filter screen.
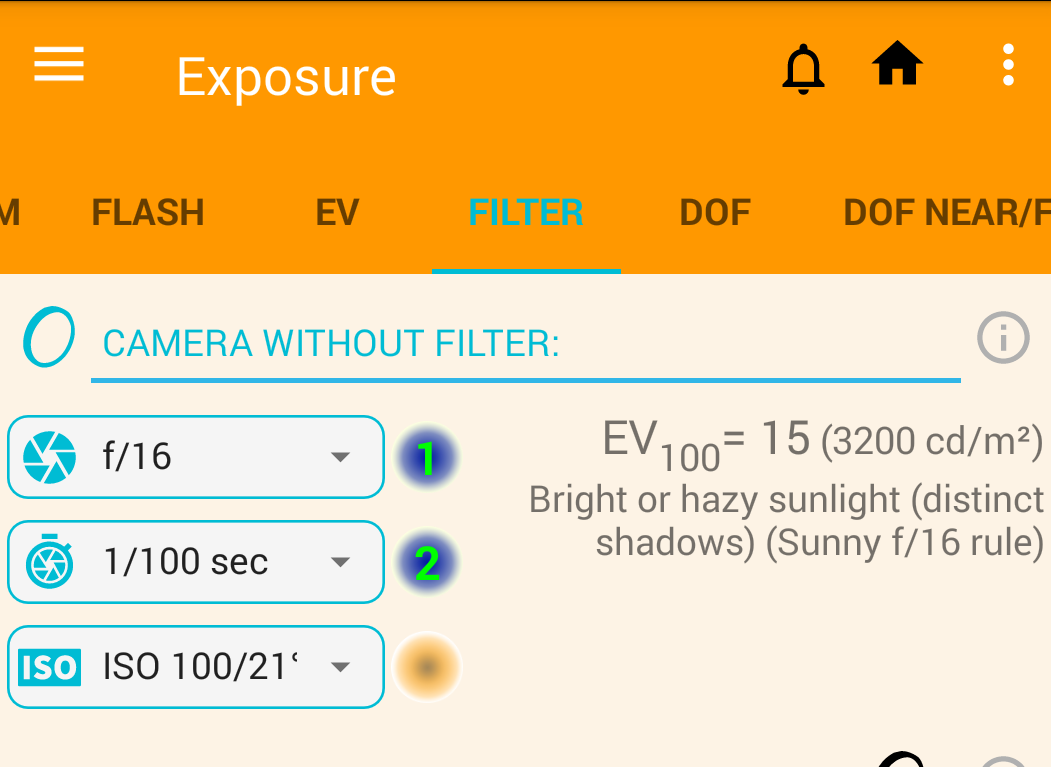
Here we concentrate just on the screen top section. You'll notice the three round buttons, two in blue and one in orange. The blue buttons are marked '1' and '2' to reflect two user-definable presets. Step by step:
- First set some favourite aperture, ISO, shutter speed.
- Then perform a long press on the blue '1' button. This will save the current exposure values as preset 1; a message will be shown for a short moment to confirm.
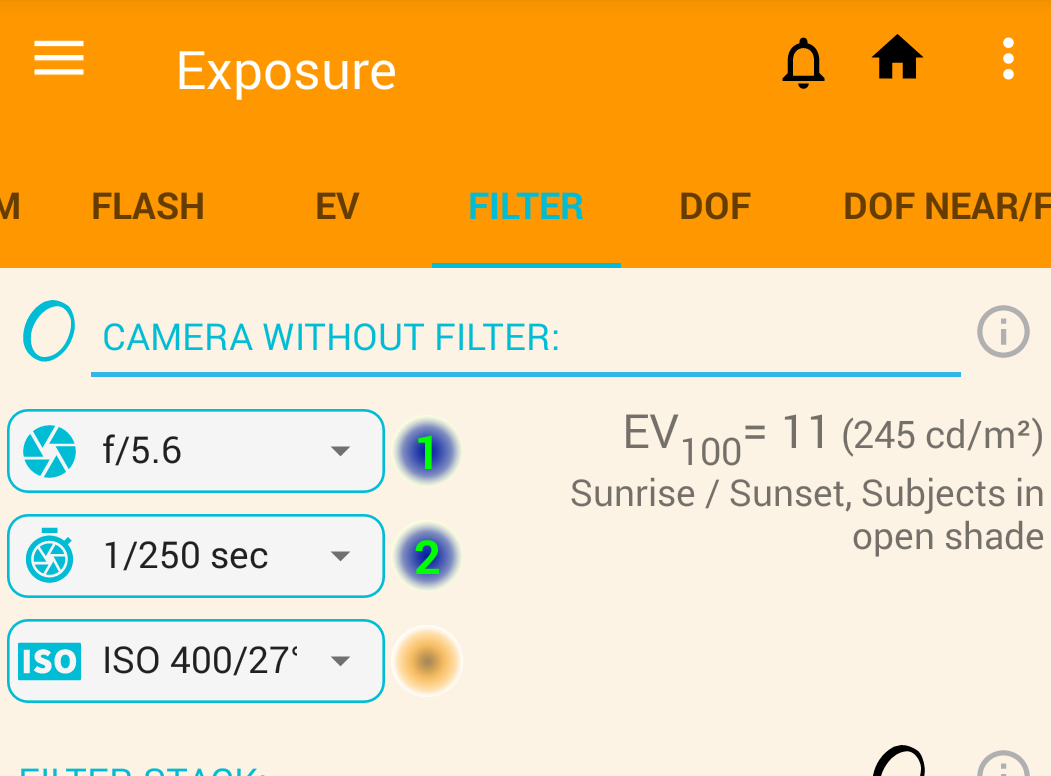
- Next, set another popular exposure triple aperture, ISO, shutter speed.
- This time perform a long press on the blue '2' button. This will save the current exposure values as preset 2; another message will be shown to confirm.
Recall a setting
And now, what can I do with these saved settings? Have a try:
- Set aperture, ISO, shutter speed to some other value.
- Now perform a short click on the blue '1' button.
- Aperture, ISO, shutter speed changes to the favourite value stored before.
- Try the same for the blue '2' button; do a short click on it.
- The values now change to what you saved as preset 2 above.
Quite convenient to quickly experiment with two presets.
Remember: A short click recalls the values, and a long press saves the values.
Advanced: Named settings
We just went through the two quick user presets utilising the blue buttons. Well, for how long can you remember what setting you stored. Here our advanced feature of named settings provide support, which is available through the Filter Pro in-app purchase.
What can you do with it?
- Recall a named preset
- Store the current setting as a new named preset
- Edit an existing preset and manage the list of saved presets
Recall a named preset
Perform a short click on the orange button. This brings up the list of stored named exposure presents:

Now click on 'Indoors' to select that preset, and aperture, ISO, shutter speed will be set to:

Store the current setting as a new named preset
Let's store our favourite setting as a named preset. First set aperture, ISO, shutter speed:
Now perform a long press on the orange button:

Next, change the name to something meaningful:

and press SAVE.
When you now perform a short click on the orange button again, the new preset is available in the list:

Edit an existing preset
Instead of selecting a preset from the list above, click EV PRESETS LIST and you'll get:

This is the same style of list you get for the definitions of your cameras, lenses, ND filters, etc. The same extensive feature set is available for EV presets:
- change the order of list items,
- delete presets,
- edit presets,
- add a new preset,
- save your preset,
- load previously saved presets,
- reset to factory presets.
I hope you find these 3 buttons useful to support your calculation workflow. Please have a try, and let us know your experience. Your feedback will help us to make Photoxor Toolkit even better!
No comments:
Post a Comment